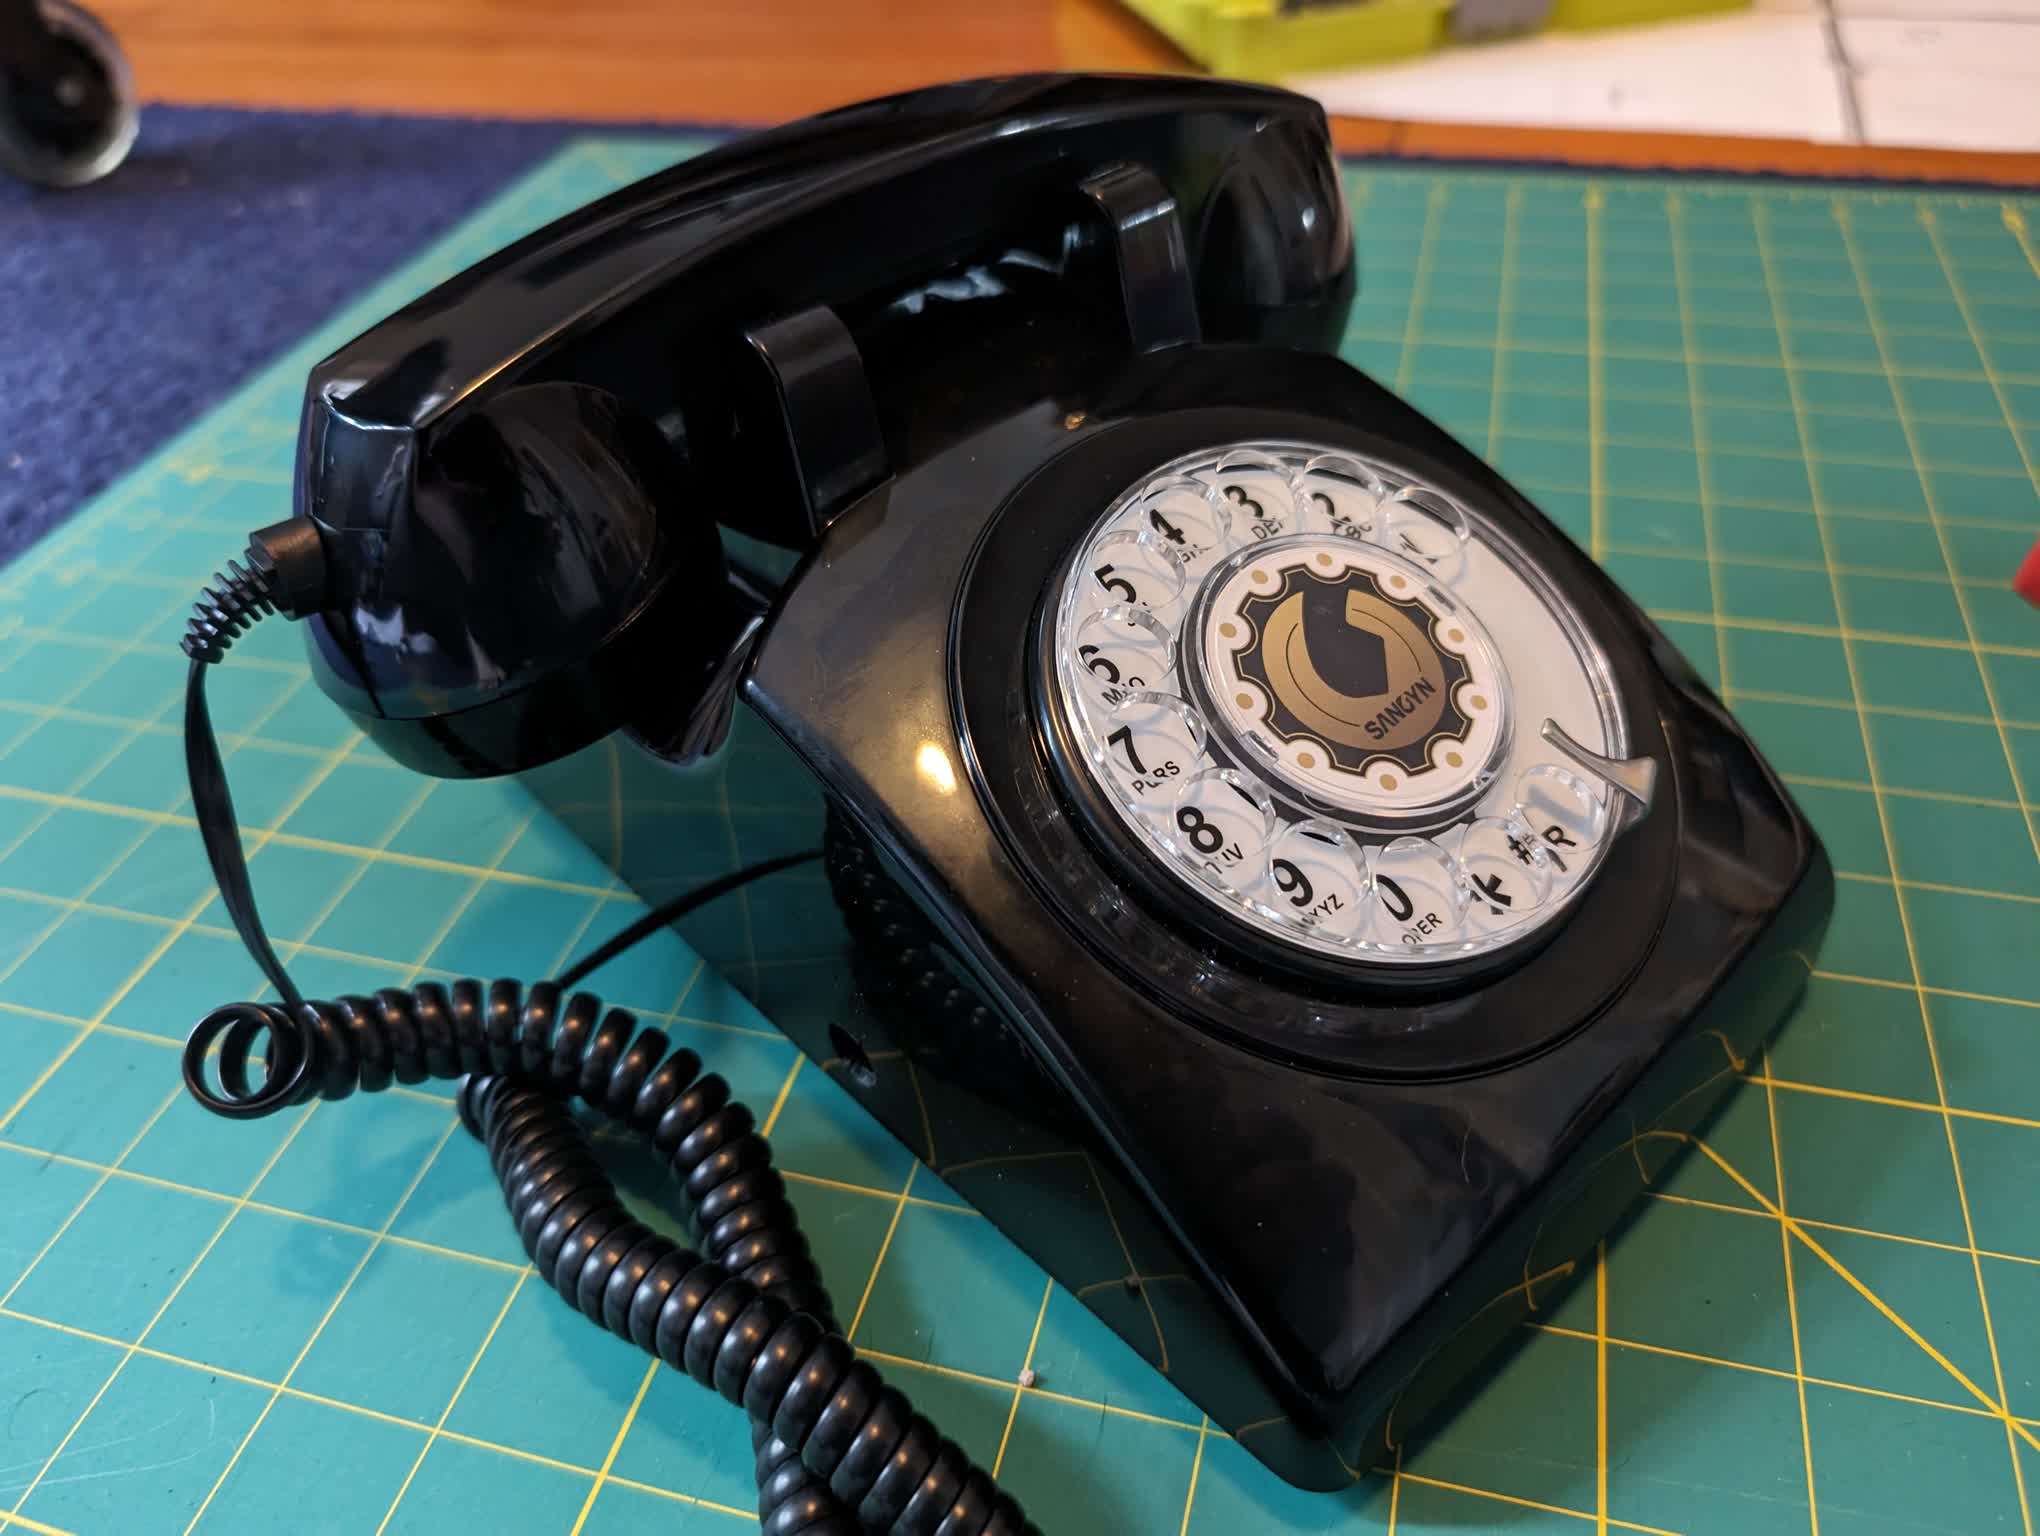
Bluetooth Rotary Phone
Old technology is just the best! It clacks, thunks, and makes all the other tactile noises one could ever need. I had the idea to make a rotary cell phone way back in high school, but when I priced out the fancy electronics required it was far outside of my budget in terms of both money and expertise. I buried the idea in my mind’s bog of unused concepts and did a few things for a couple years.
With those few things (college, jobs, marriage) out of the way and those couple years (thirteen) past, the idea of a portable rotary phone I could use to make calls bubbled up out of the bog. This time I was older and widely available technology had progressed to the point where I was able to chart a path to clickety-clackety greatness. If you want a bluetooth rotary phone of your own, read on! It’s not that difficult in the grand scheme of things.
Note: There are fewer photos than I’d like of this project’s more fiddly steps so following along may be a bit difficult in the grand scheme of things.
Components
The through-line of this project is that in the magic land of 2024 there are now devices that can plug into an old landline phone and act as a bluetooth accessory capable of making and receiving phone calls. To make a portable rotary phone, I only had to get one of these boxes, power it with a battery, and shove both into the body of a rotary phone.
- A Rotary Phone
- 12V Rechargeable Li-ion Battery
- XLink BT (the magic box that makes everything work)
- Short Phone Cables
- On/off switch
Assembly
Test Run
The first step was to get everything working without doing any fancy assembly. This gave a good, working baseline and allowed me to pair the XLink BT with my phone before it was trapped inside the rotary phone’s case.
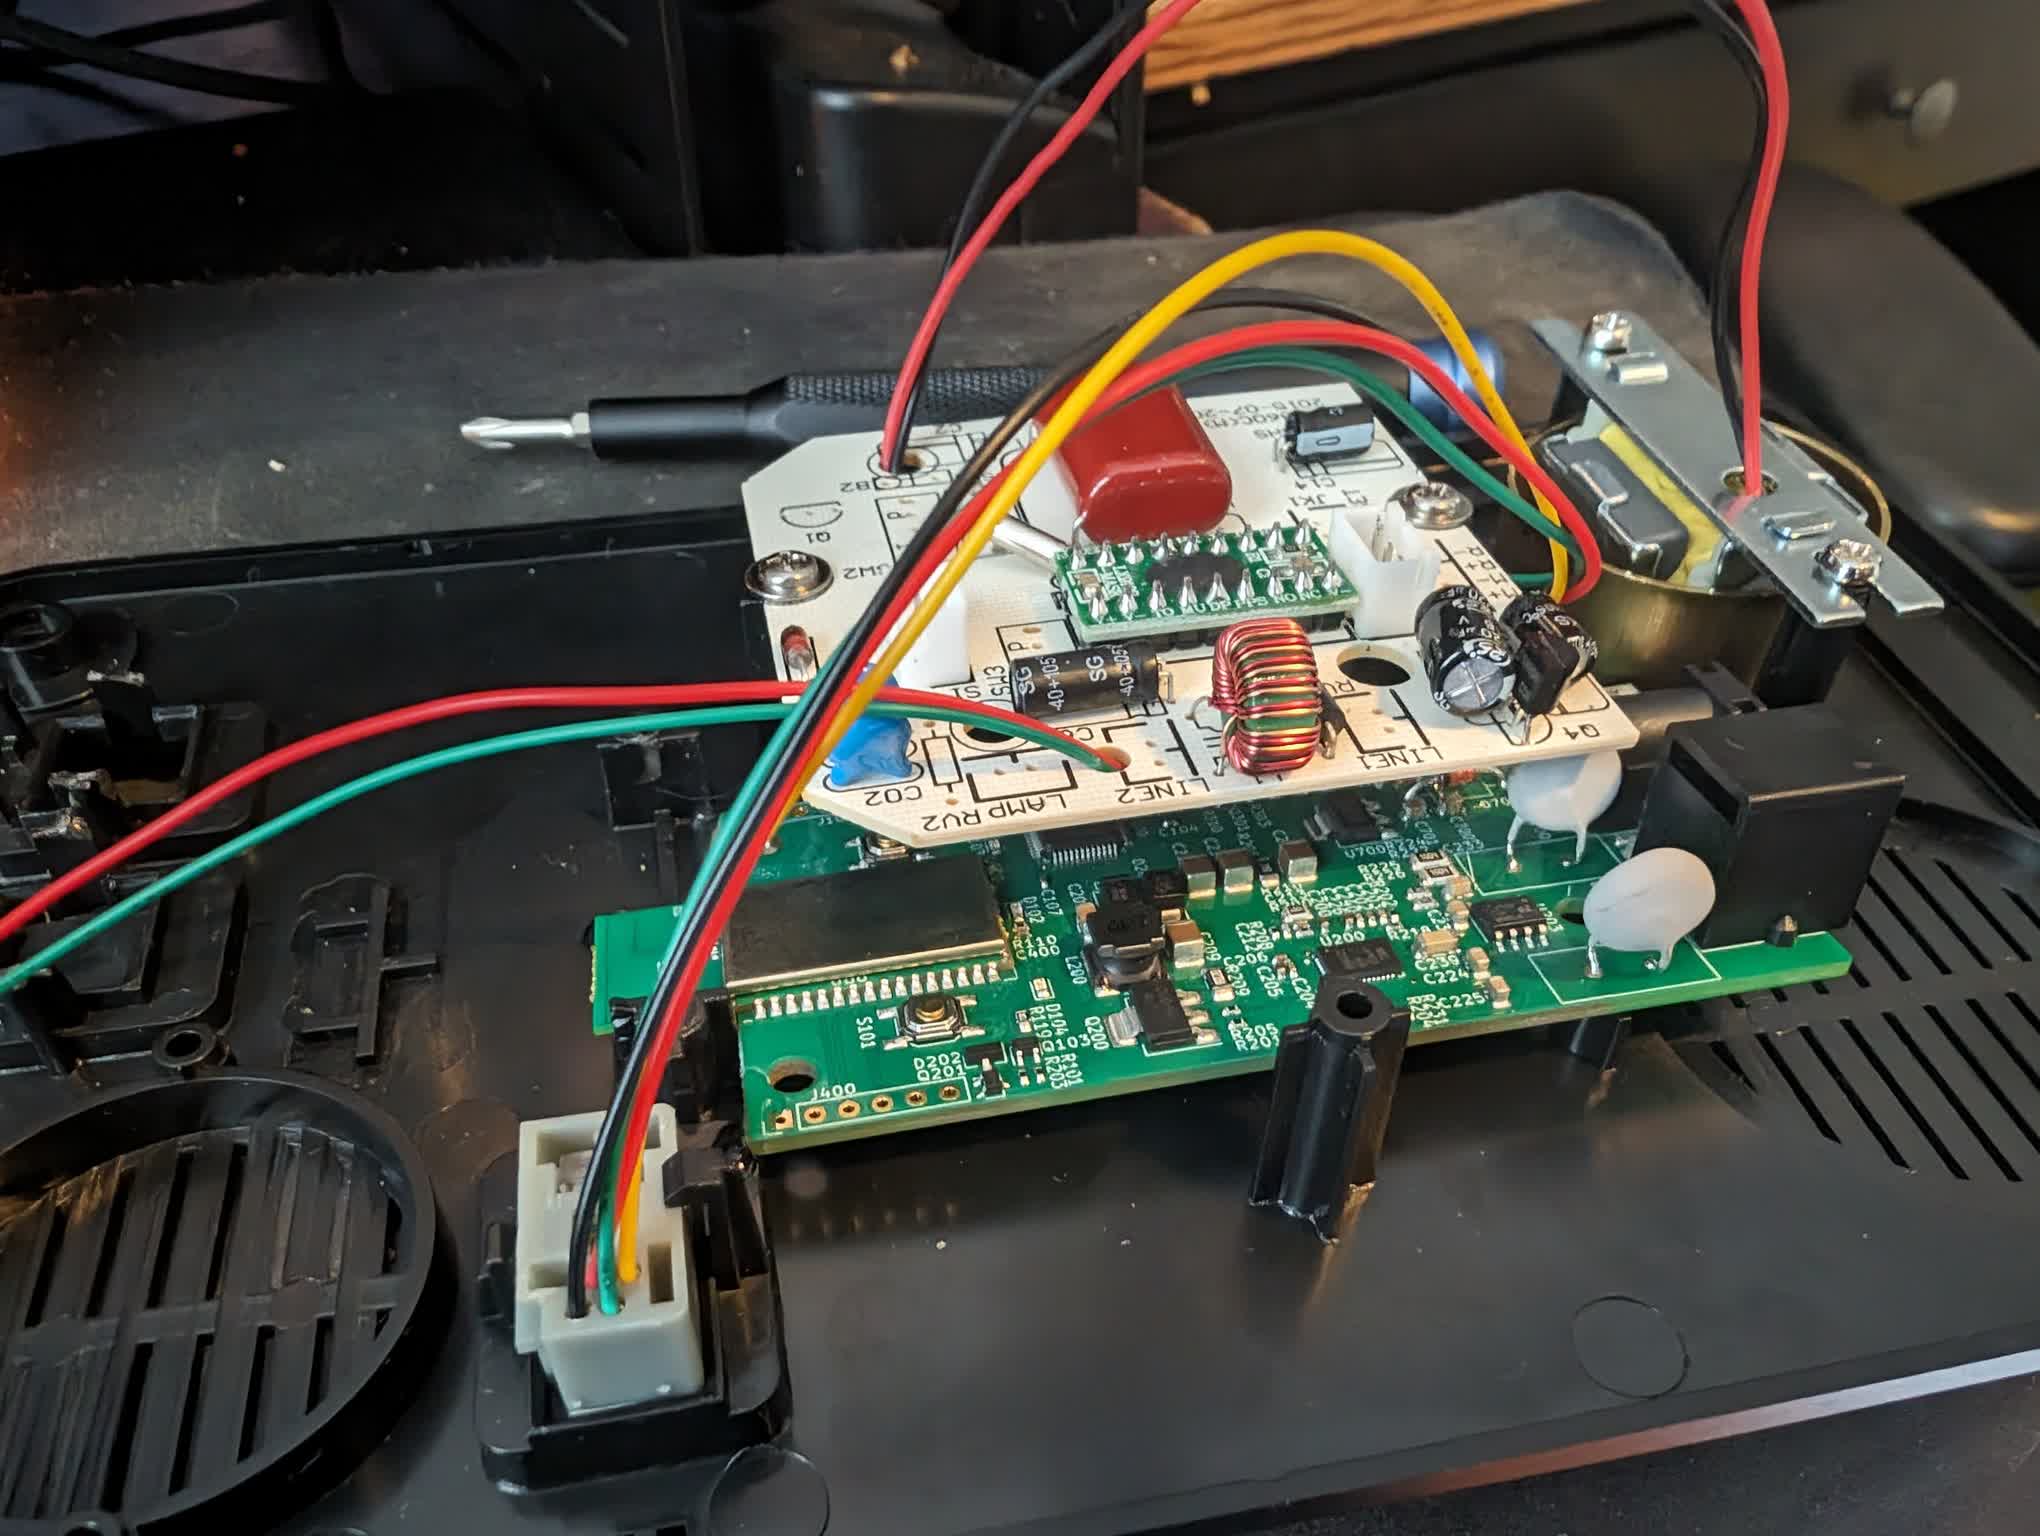
Placing XLink BT in the phone case
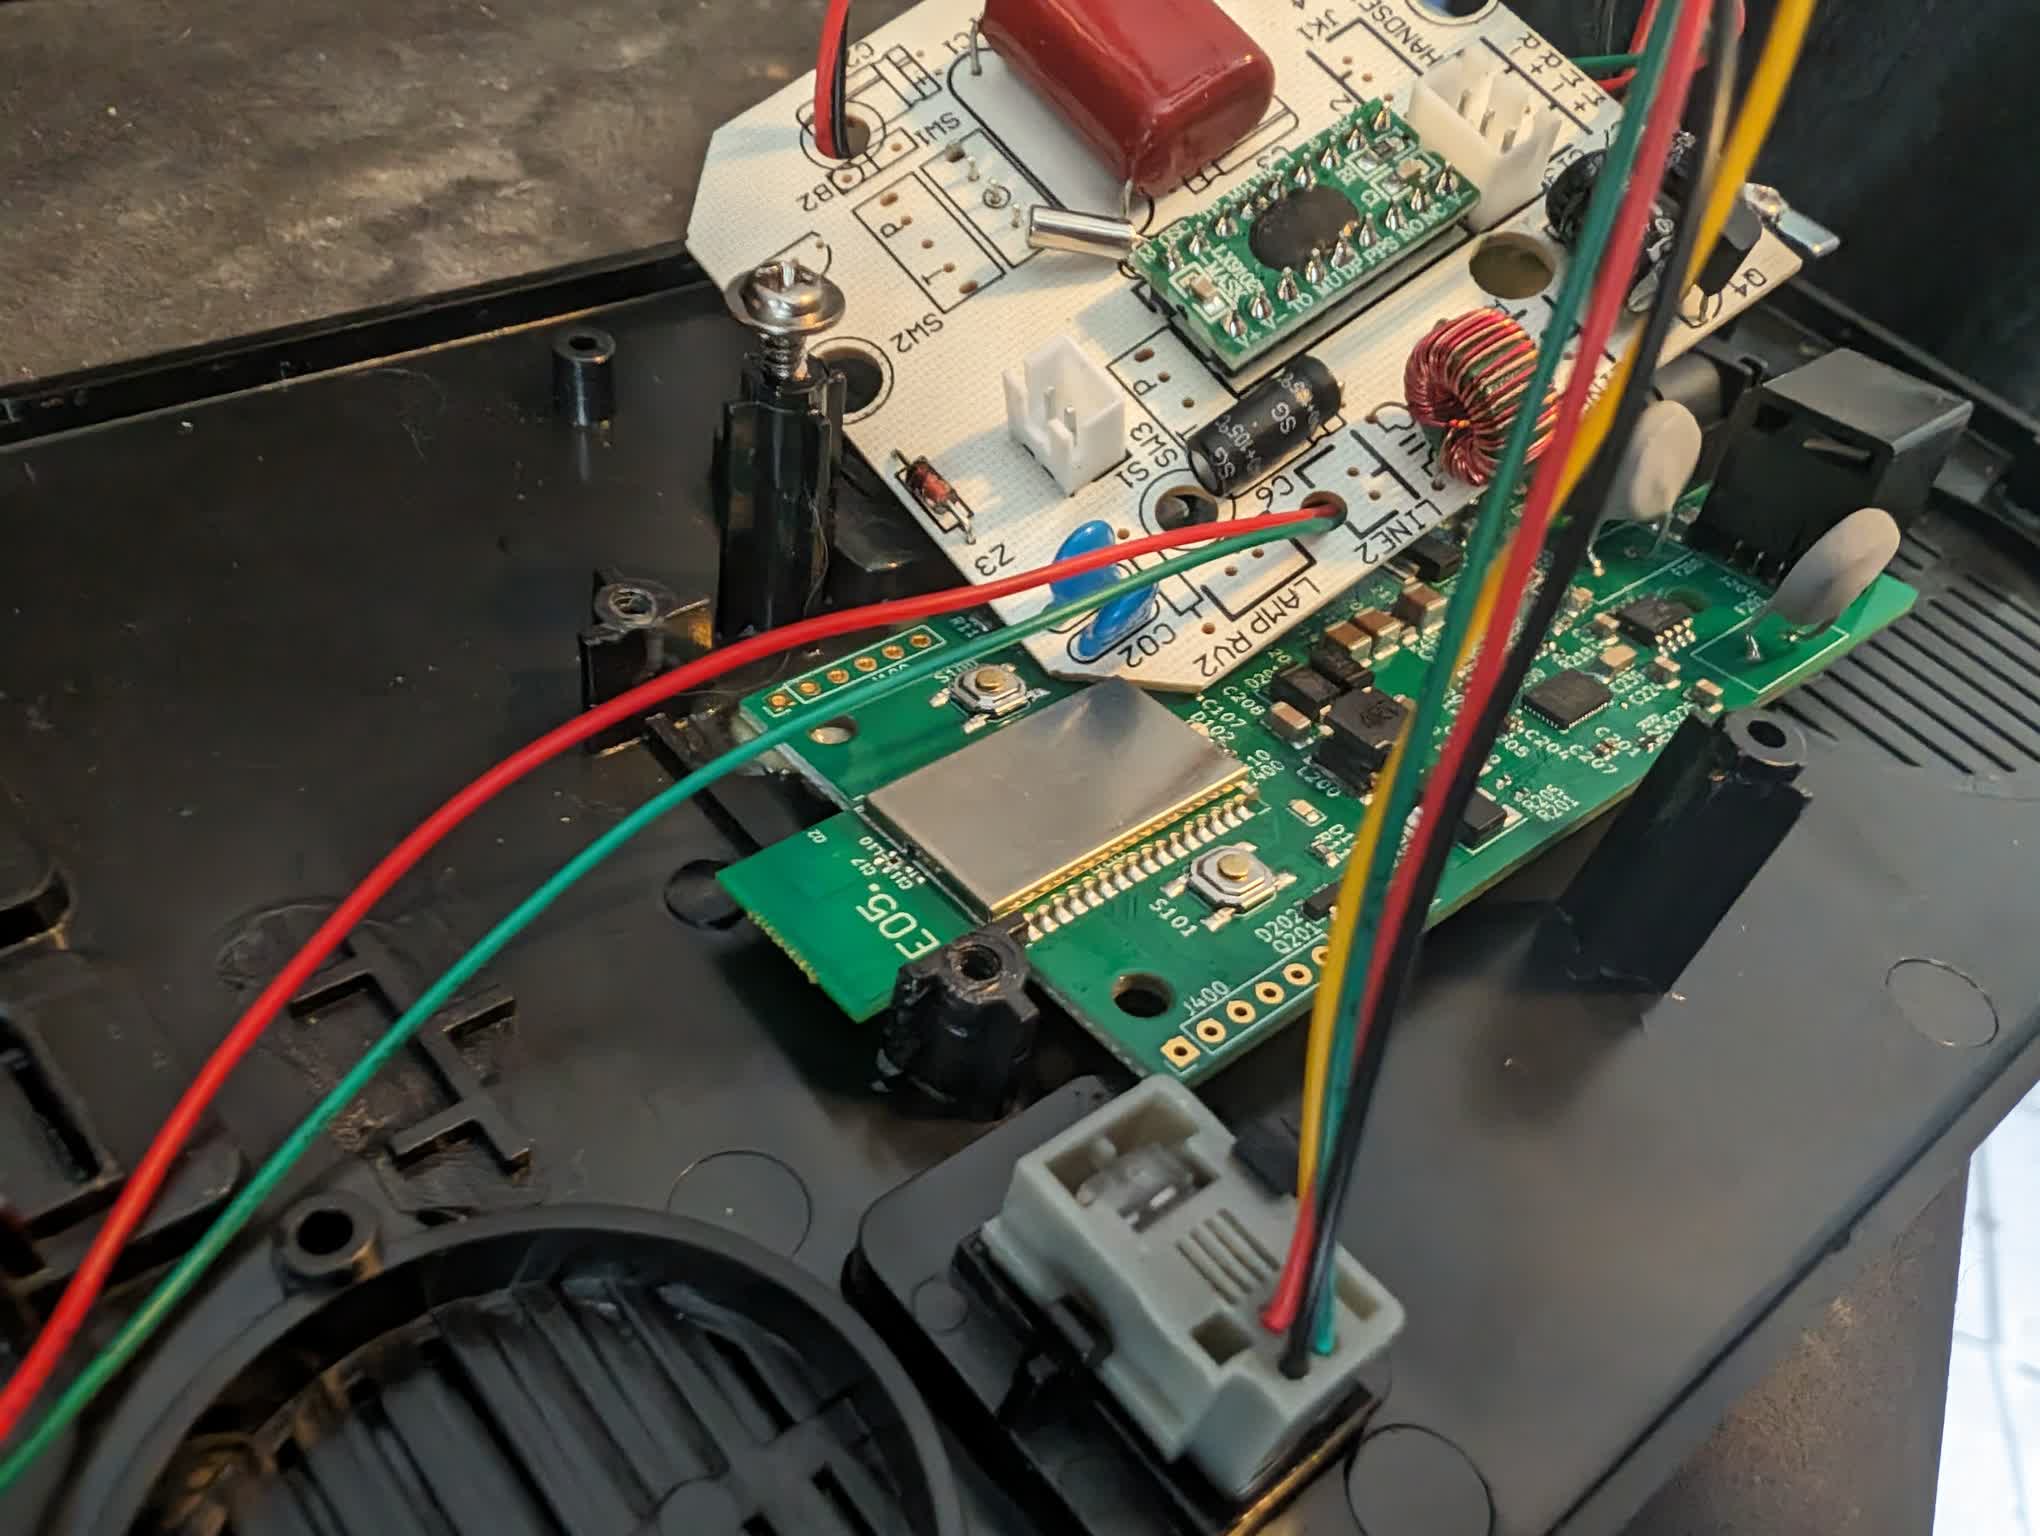
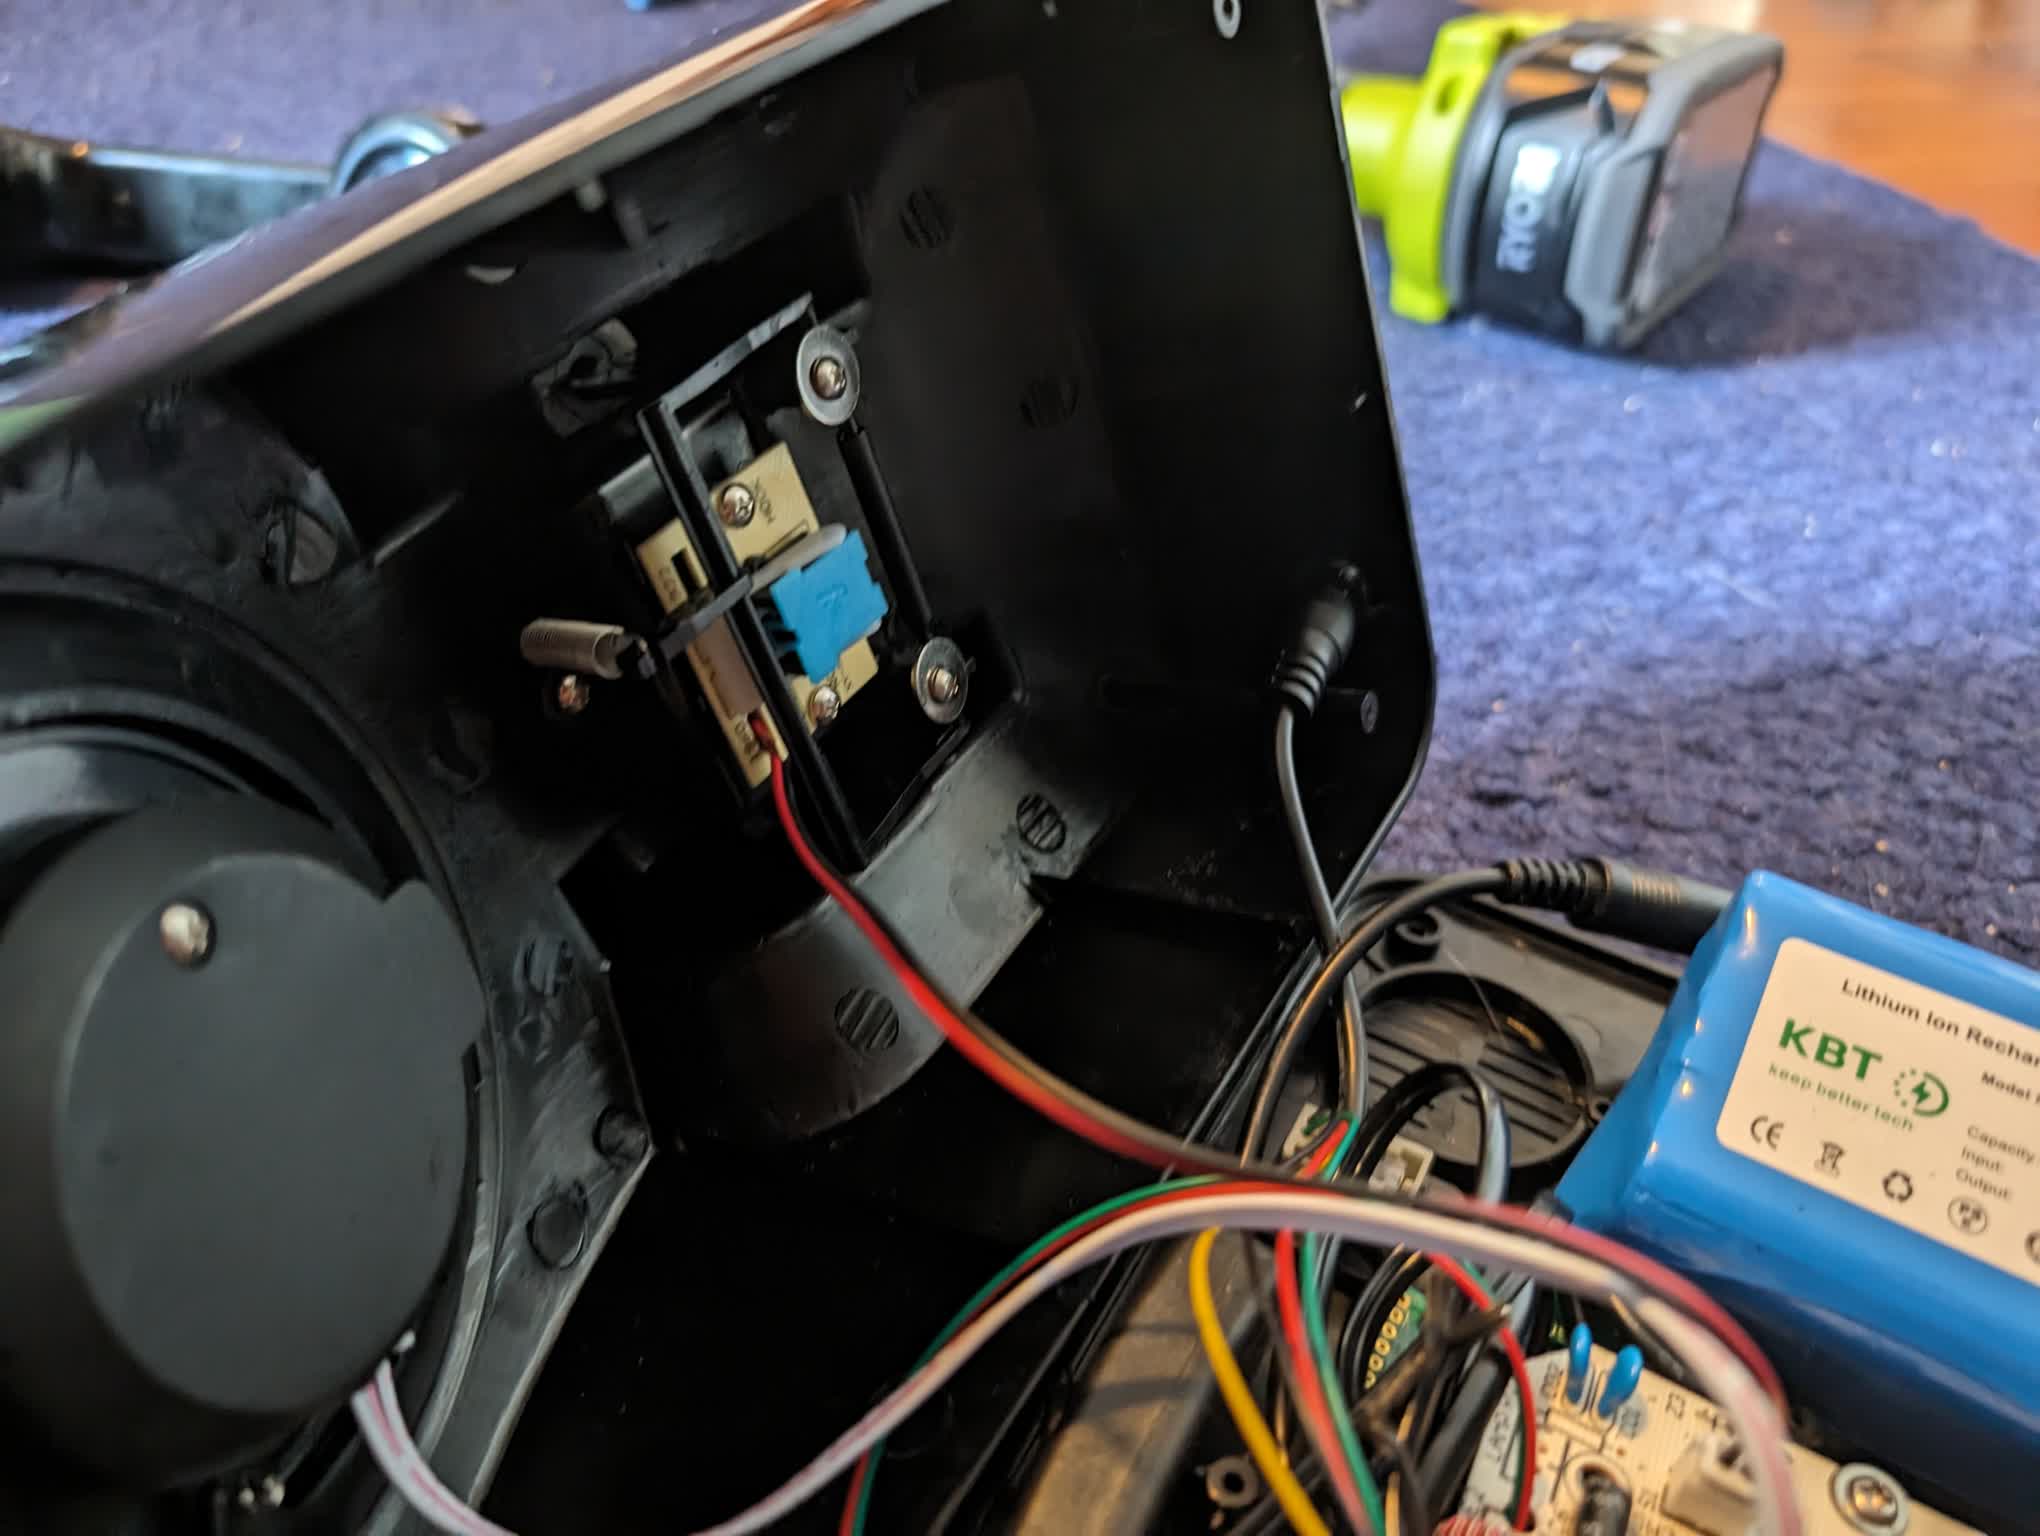
After the test run, I freed the XLink BT from its bulky plastic enclosure. Next, I removed the bulky weight from the inside of the rotary phone, freeing up a perfect place to slot the peeled circuit board. I then glued the XLink BT in place and screwed the phone’s electronics back in place.
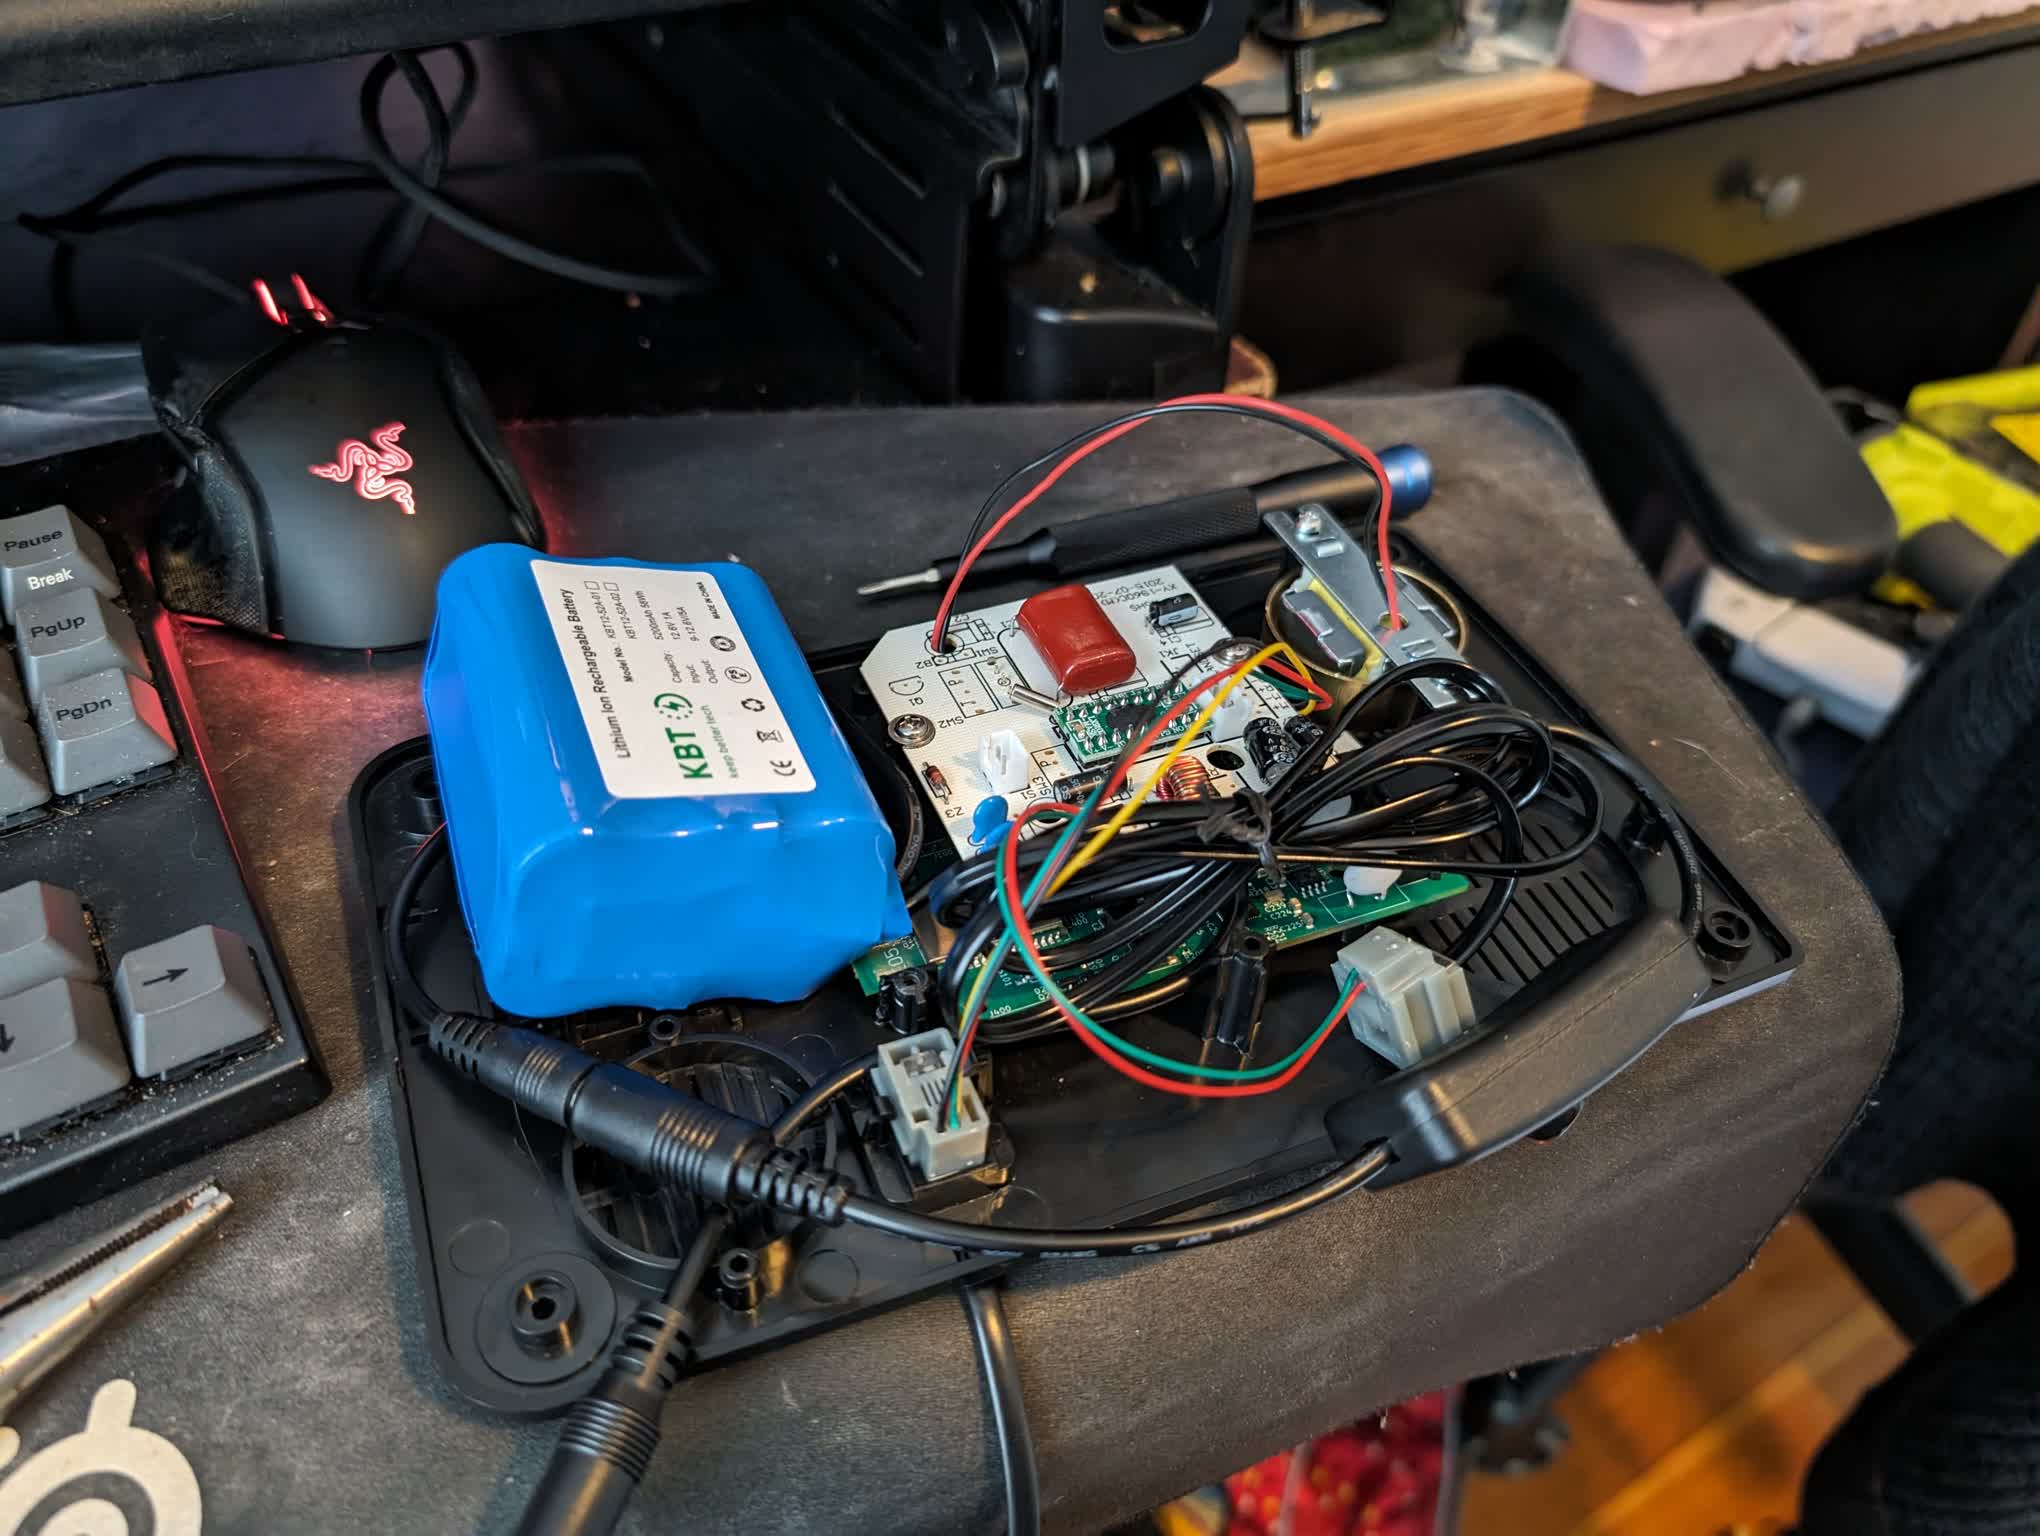
Placing battery in phone
I took some time to mess around with the battery to find a good fit for it. This location had to allow the charging wire to be guided to the back of the phone while the power wire with the inline switch had to reach the XLink BT. Once I found a place, I used duct tape to hold the battery in place since I was too chicken to cross hot glue with a lithium battery.
Cabling
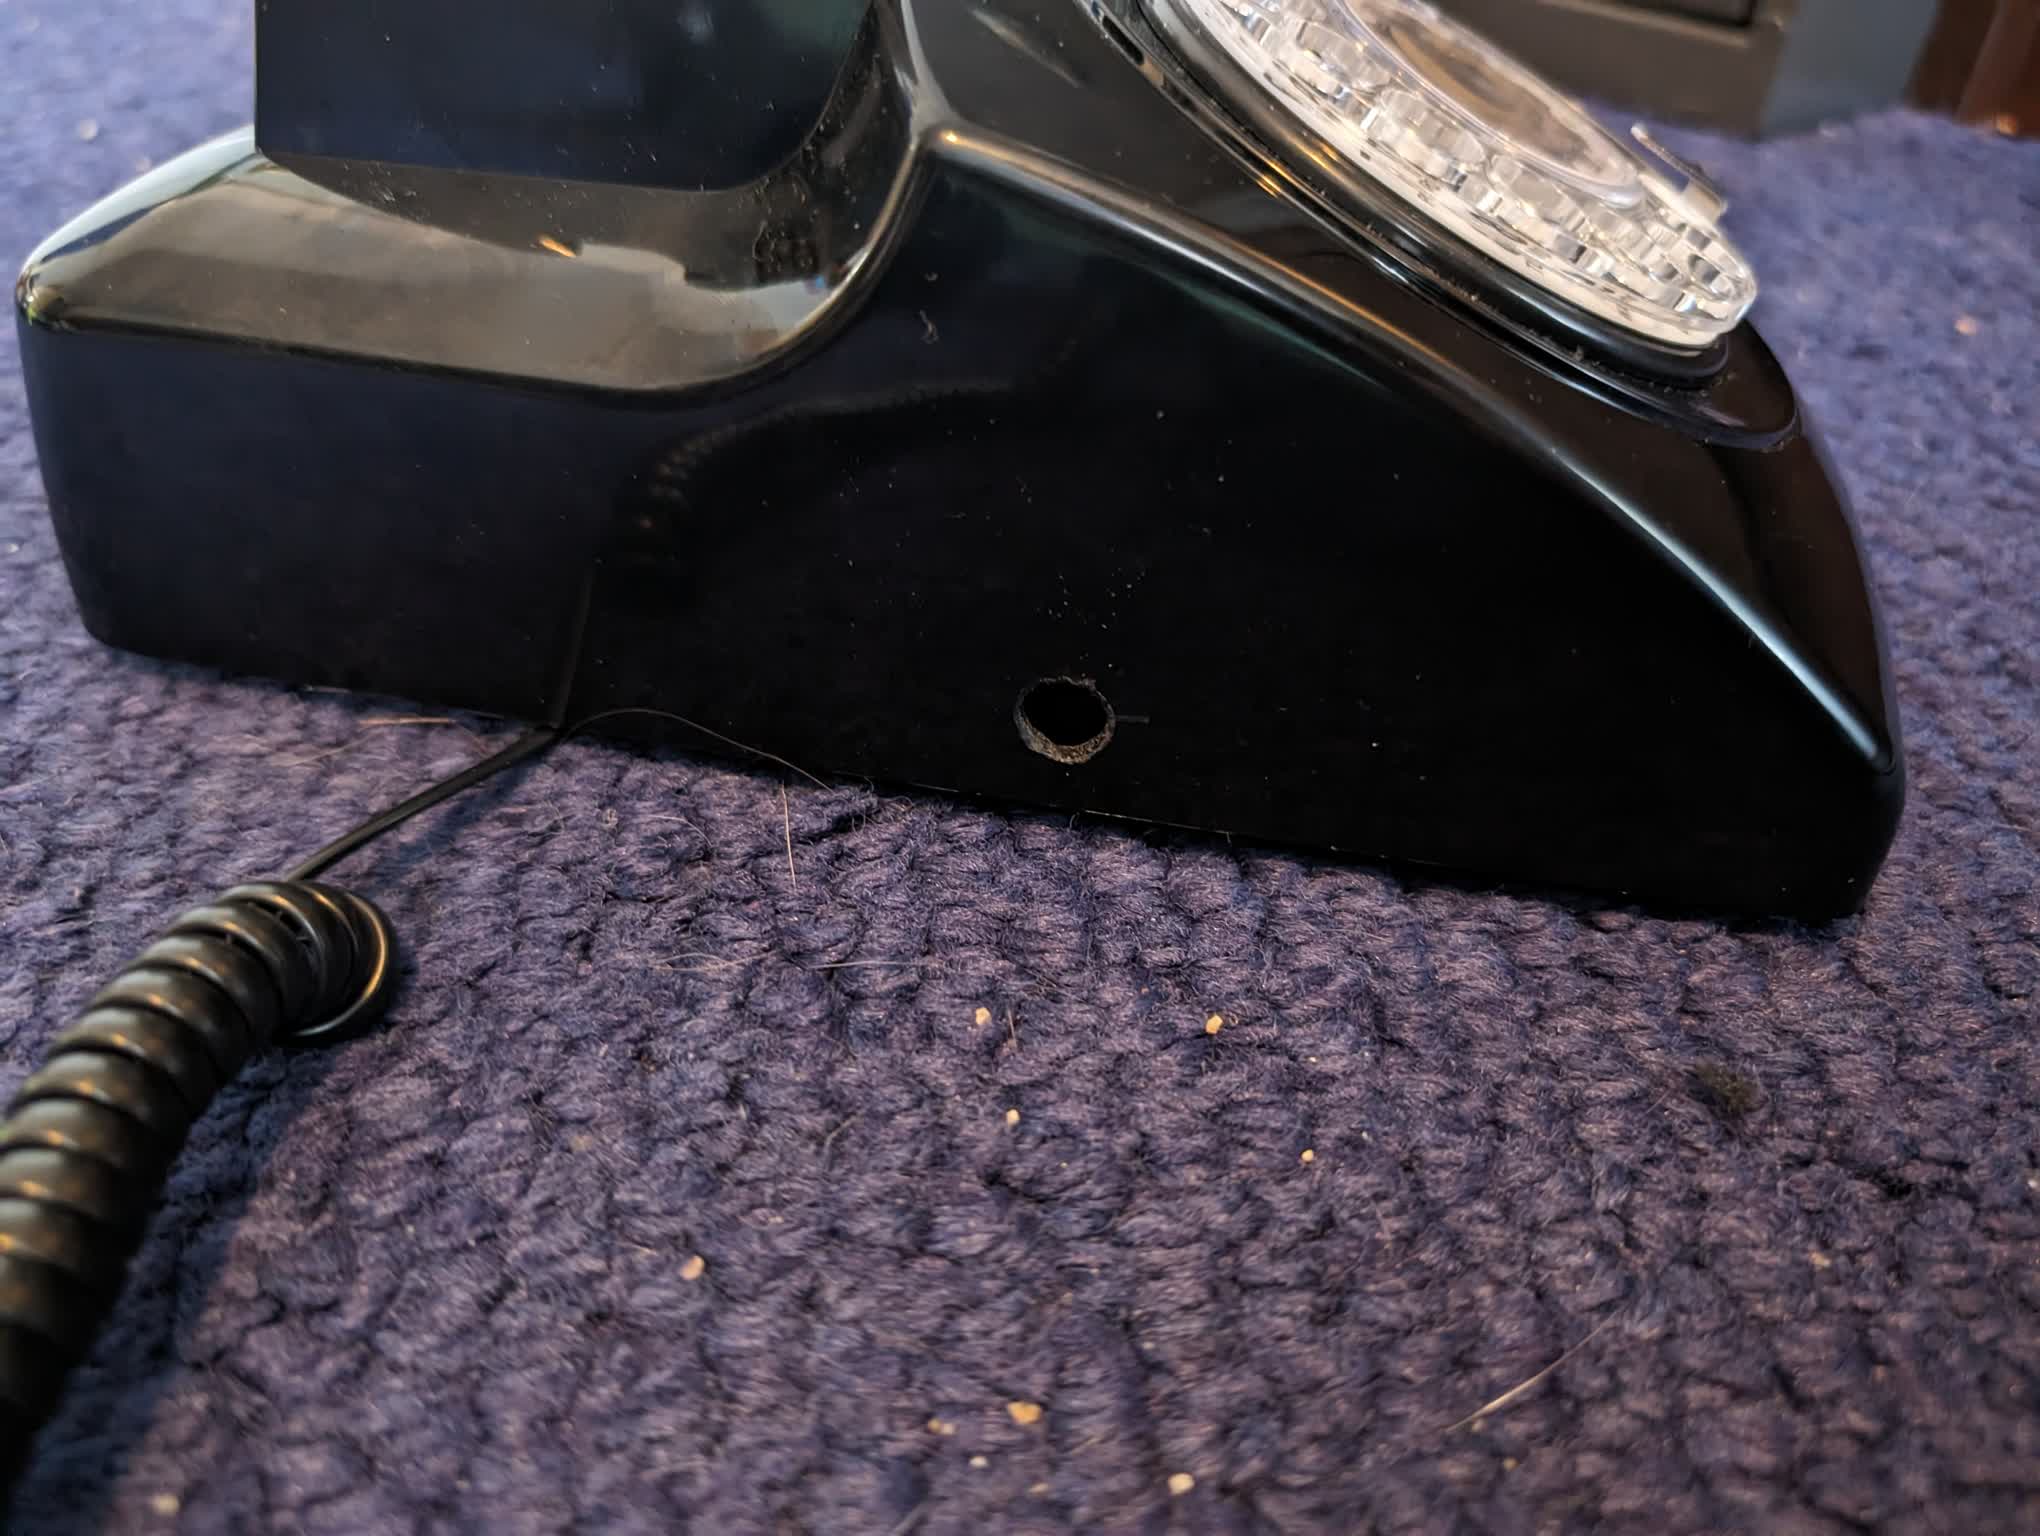
With all of the main players in place, it was time to hook up the cables and drill some holes in the case to let them breath. I drilled one hole in the back for the charging cable.
For the on/off switch I drilled a larger hole allowing me to insert a pencil or equivalent stick-like object to hit the switch from the outside. While not the most engineering-savvy solution, this was a lower profile and easier than making a hole for the entire switch.
Reassemble!
Cables connected and electronics arranged, I reassembled the rotary phone and it all worked! After learning what a “hook flash” is (a brief tap on the hook), I painstakingly placed a call, ready to brag about being the personification of cool that my teenage self had imagined.